Office Hours
Pawtograder’s office hours feature allows students to request live help from course staff. Student requests go into a queue, and multiple staff members can be working concurrently through that queue, assigning themselves to help students as they become available. Students are encouraged to make public requests for help, so that other students can also benefit from the discussion.Get Help Button
A persistent Get Help button appears in the bottom-right corner of every page, making it easy to request help from anywhere in the course. Click this button to:- View the current office hours status
- See which queues are active now
- Check the weekly queue schedule with live “Happening now” highlights
- Submit a new help request
- Access your active help requests
Office Hours Queues
Instructors can create multiple office hours queues to provide different types of help. For example, if a class is coordinated across multiple campuses, there may be in-person help queues per-campus, and a cross-network virtual help queue.Viewing Open and Solved Help Requests
Particularly when there are many students asking for help at once, it is likely that multiple students have a sufficiently similar question that they could both benefit from the same answer. If someone else already asked a question similar to yours, and you can see that they are about to be helped, you can join that discussion, rather than asking your own question at the end of the queue. Use the tabs at the top to navigate:- My Requests: View your current and past help requests
- Browse Queues: See all open requests and their status
Requesting Help
Click the + New Request button to submit a help request. The request form includes several helpful features: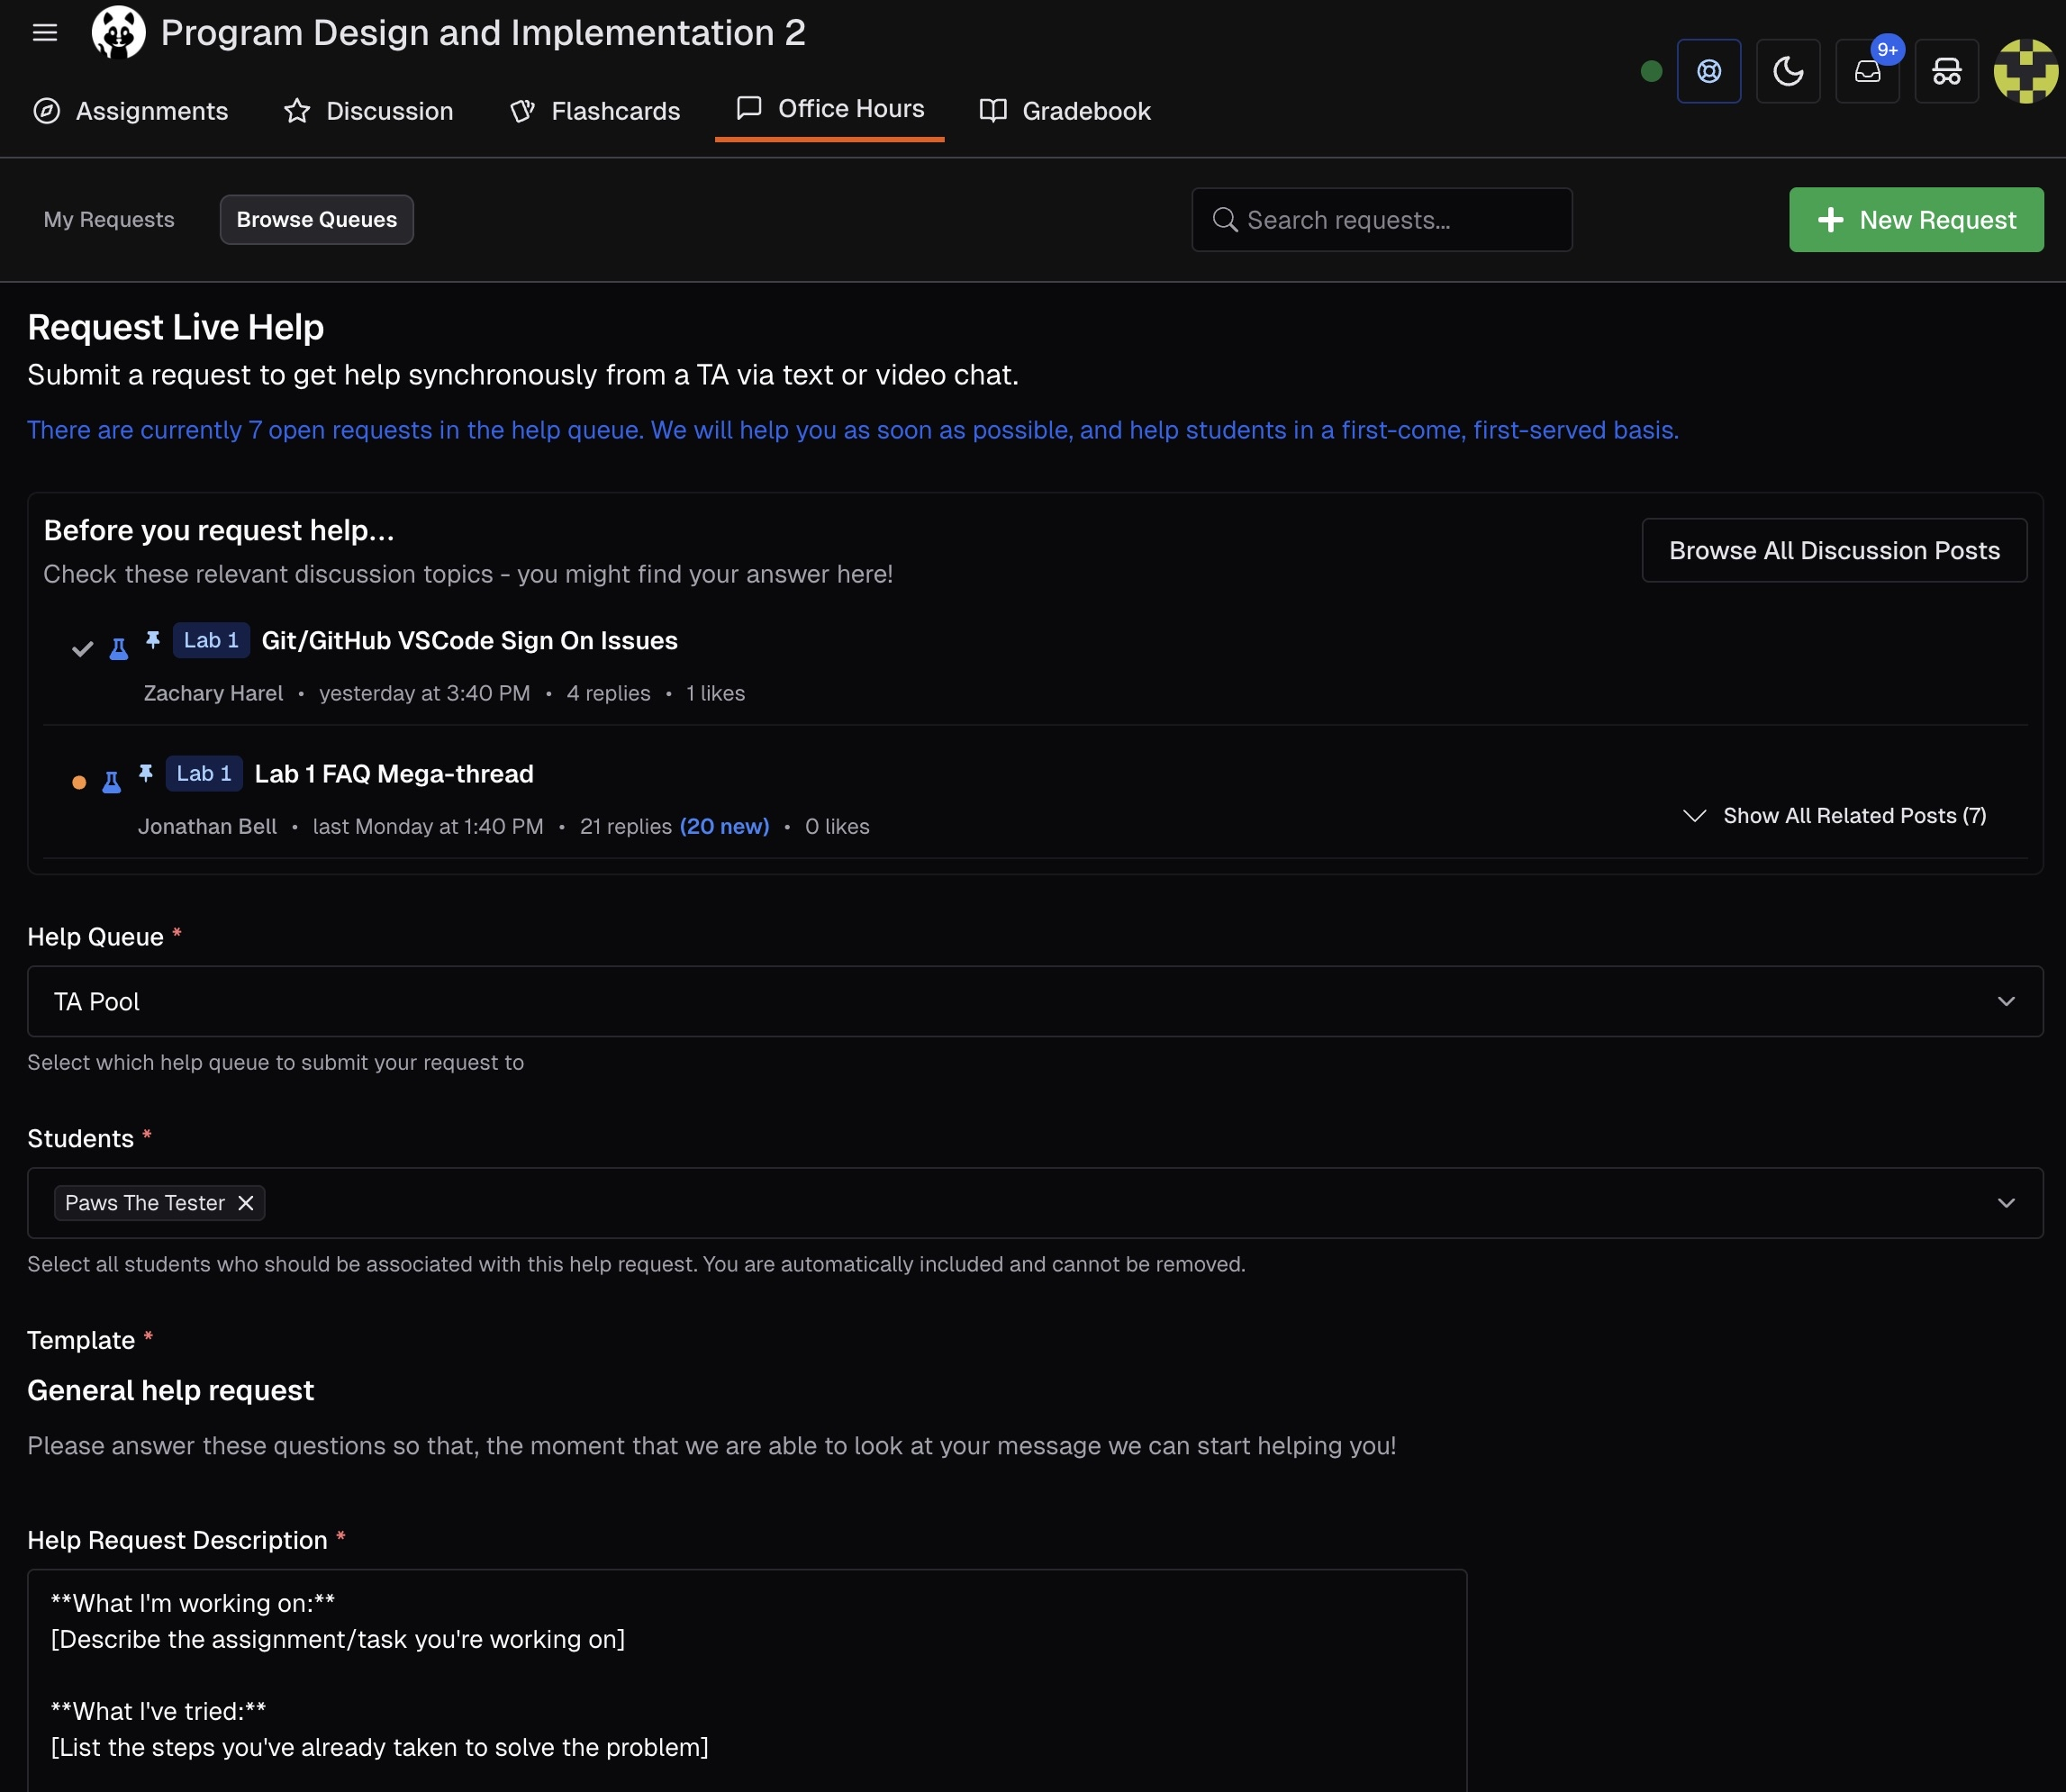
Before You Request Help
When your course has pinned discussion topics, you’ll see a “Before you request help…” section at the top of the form with relevant discussion topics that might answer your question. The system automatically suggests pinned posts and related discussions from your course. This helps you:- Find answers without waiting in the queue
- Discover solutions that other students found helpful
- Browse all related posts with the Show All Related Posts expander
This section only appears when your course has pinned discussion posts configured by instructors.
Request Form Fields
Select Help Queue
Choose which help queue to submit your request to (e.g., “TA Pool”). Different queues may be staffed at different times or locations.
Add Students (Optional)
If you’re working with partners on a group assignment, you can add them to the help request. You are automatically included and cannot be removed.
Select Template
Choose a help request template. Templates provide a structured format to ensure you include all necessary information, such as:
- What you’re working on
- What you’ve already tried
- Specific error messages or issues
After Submitting a Request
Once you submit a help request:- Queue Position: You’ll see your current position in the queue
- Status Updates: The system notifies you when staff assigns themselves to help
- Text Chat: Staff may begin helping via text chat
- Video Chat: When a TA starts a video call, click Join Video Call to connect
Notifications
Pawtograder provides multiple notification options to keep you informed about your help requests:- Browser Notifications: Receive desktop notifications when staff responds or starts helping you (requires browser permission)
- Title Notifications: The page title updates to show new messages even when you’re on another tab
- Sound Alerts: Optional audio notifications for new messages
- Favicon Badge: The site icon shows a notification badge when you have unread messages
Help Request Status
Your help request will show different statuses:- Waiting: You’re in the queue waiting for a TA
- In Progress: A staff member is actively helping you
- Resolved: Your request has been marked as complete
Resolving Help Requests
When you’re finished receiving help, you can resolve your help request from either:- The floating banner that appears while you have an active request
- The main chat view with the staff member
- Resolved - Question Answered: Your question was fully answered
- Resolved - Problem Solved: Your technical issue was fixed
- Resolved - Referred Elsewhere: You were directed to other resources
- Resolved - No Longer Needed: You no longer need help with this issue
- Resolved - Other: The request was resolved for another reason